| |
| Stretch: |
Manton Road (A6) to Coleman Fish Hatchery |
| Difficulty: |
Class III with one IV- |
| Distance: |
12 miles, 1 day |
| Flows: |
kayaks 500 - 2000 cfs, IK minimum 400
|
| Gauge: |
measured by adding forks
(BAS) and
(BNF) |
| Gradient: |
41 fpm average, fairly continuous |
| Put-in: |
public right-of-way at Manton Road bridge, 950' |
| Take-out: |
BLM access upstream of Coleman Fish Hatchery, 460' |
| Shuttle: |
25 miles (45 minutes) one-way |
| Maps: |
Delorme N California, AAA Northern California,
Topo
|
| Season: |
March to May or June, from snowmelt (muddy after rain) |
| Agency: |
BLM, private |
| Notes: |
© 1999 by John Lester,
jwlester@ucdavis.edu
|
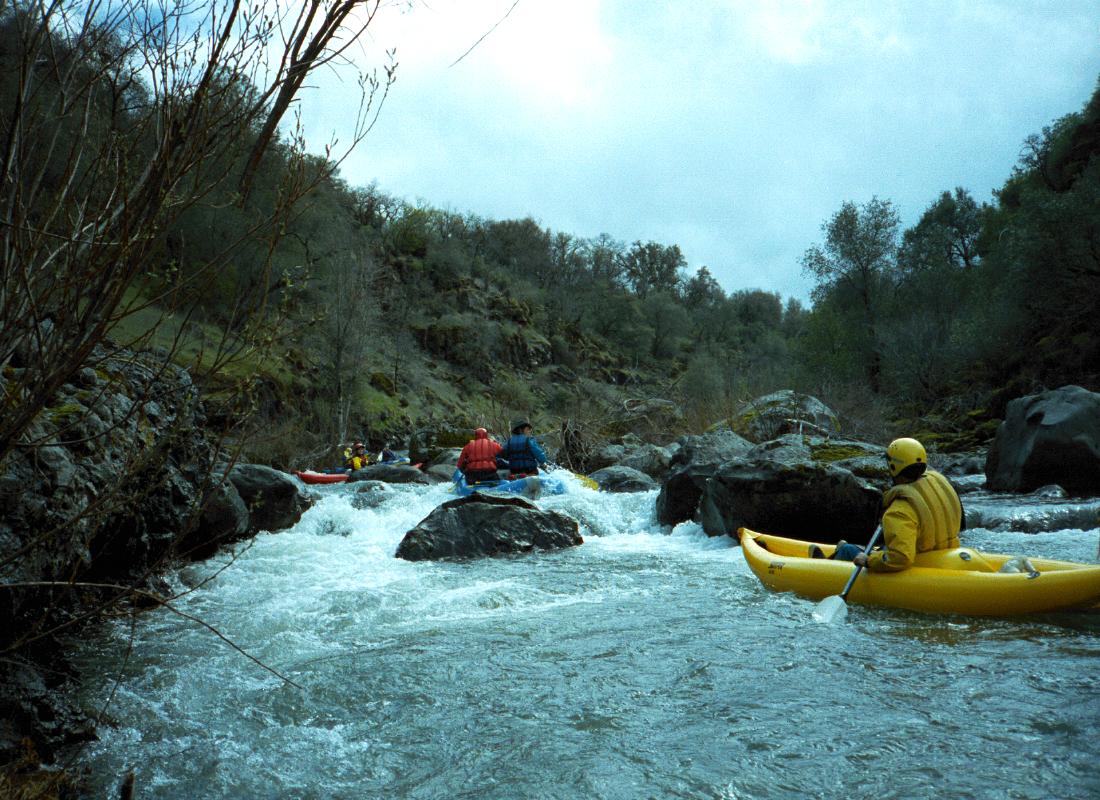
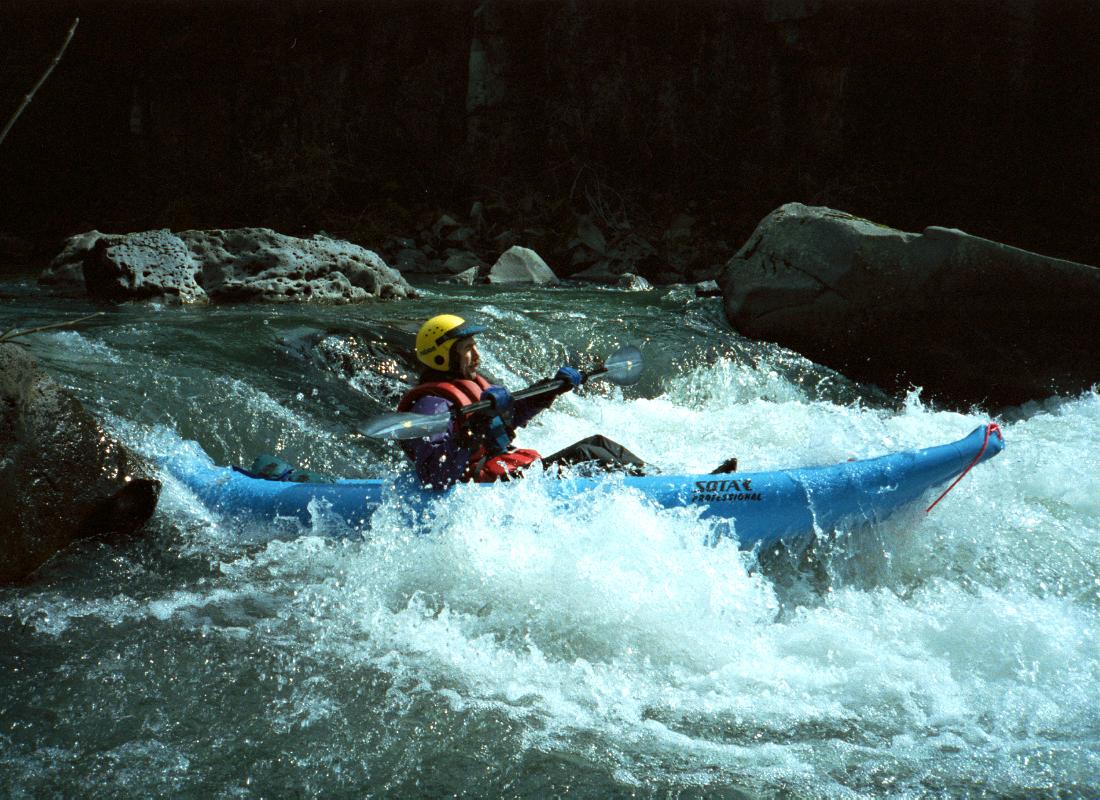
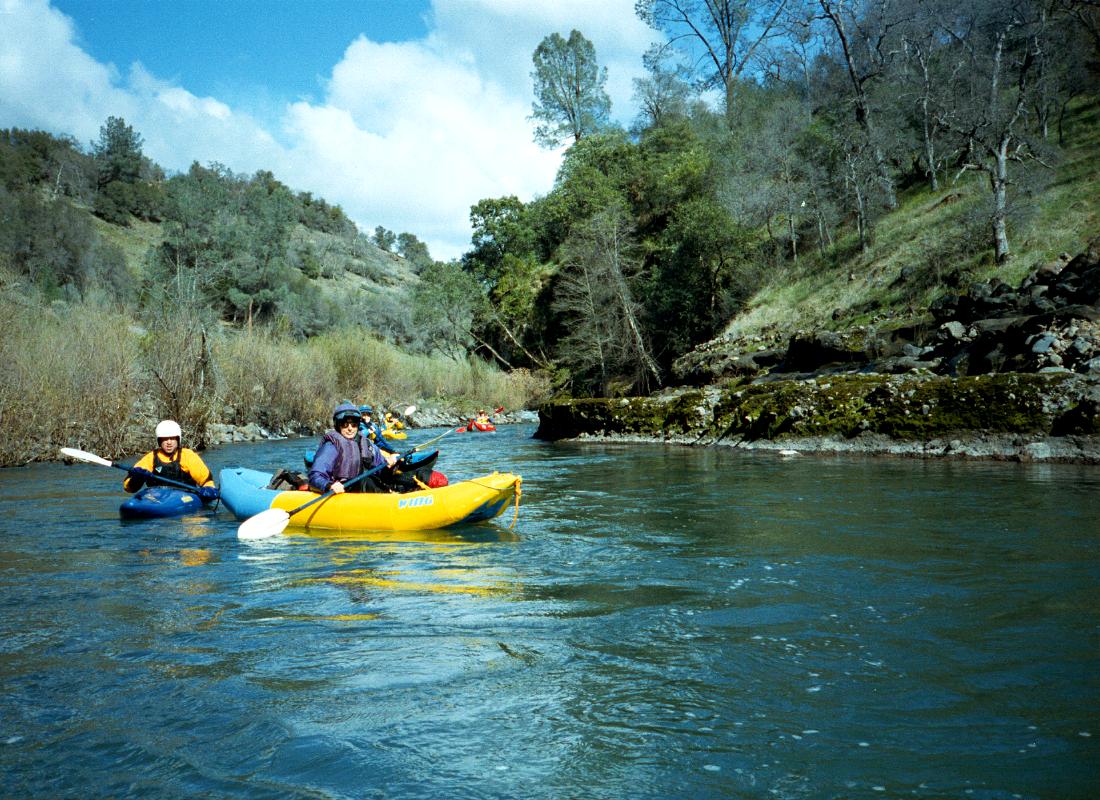
This surprisingly good run is located just the other side of the
Sacramento river from Redding. The whitewater consists of nearly
continuous class II-III rapids and a class IV- rapid, tapering
off near the end. Scenery and solitude are good, so it is
surprising that this river didn't make it into any guidebook.
This run is superior in all respects to Cache Creek and Stony Creek,
although further from population centers. Rapids are numerous,
water quality is good, playspots are plentiful, and the season is fairly long.
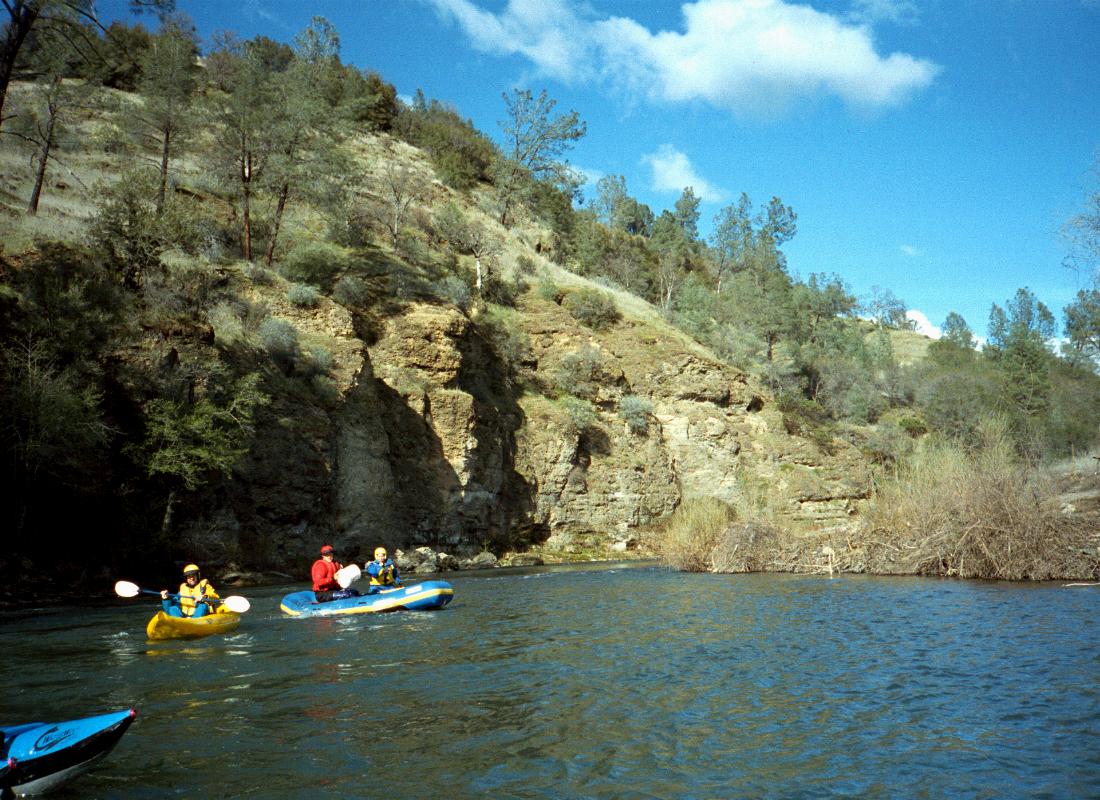
Most of the upper 2/3 of the run flows through a fairly narrow gorge
cut 10 - 20 meters deep in volcanic rock.
The flow for much of this run is slightly less than
as reported at Coleman Fish Hatchery
(BAT).
The first few miles on the South Fork are about half that.
This description was compiled during runs with BAT reporting about 800 cfs.
Runs are possible at higher flows, and also at slightly lower flows.
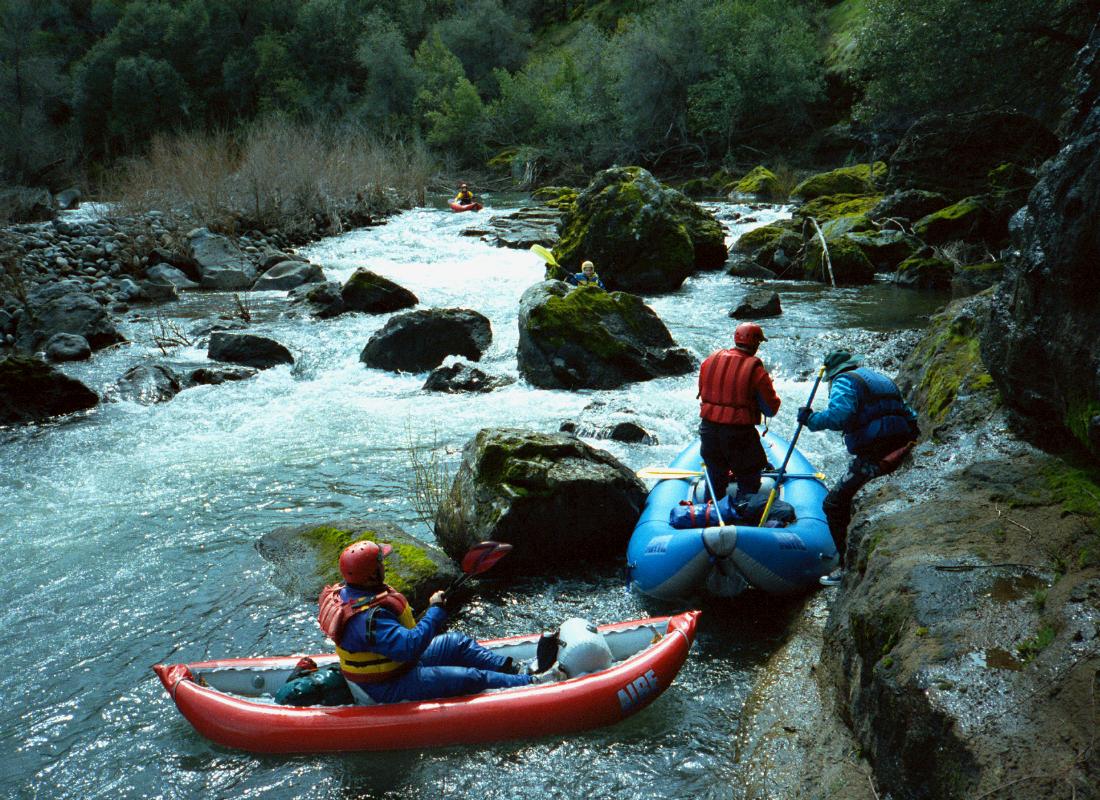
Rapids are technical at low flows, with many rough volcanic rocks
in the channel, and very bony until the South and North Forks meet.
At higher flows, rapids are continuous in places.
Approximate mileages given below.
- mile
0
-
Tight rapids on the South Fork, where the flow is usually somewhat
skimpy.
-
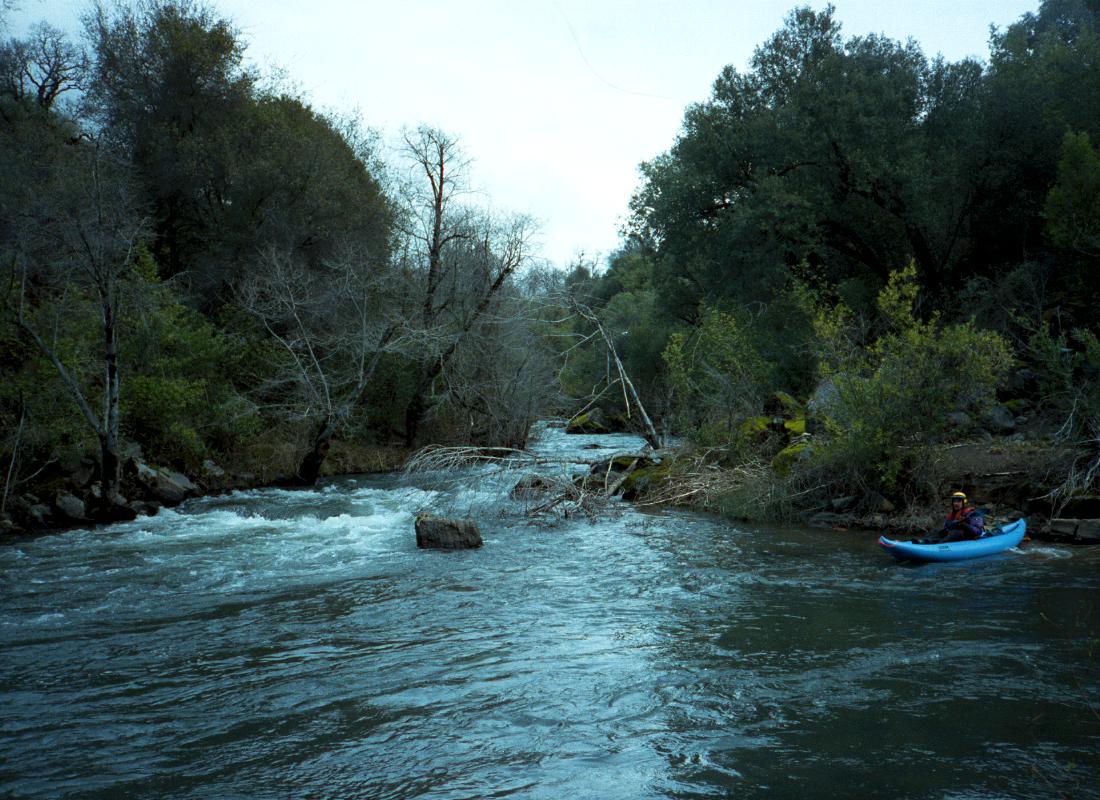
- Watch out for a brush-choked drop at a sharp right bend about
1.5 miles down.
-
-
- It is possible to put in on the North Fork Battle Creek. This fork
is subject to diversions, and its trees are closer to the river
than on the South Fork. Boaters are sometimes turned back at
higher flows. Immediately after the put-in, there is a sharp
class III-IV drop, which can be portaged on the left. After this
comes a fairly long and busy class IV- rapid that needs to be
bank or carefully boat scouted since you cannot see the whole thing
from the top. Portaging would not be easy due to steep rock walls.
There are a few more class III+ or IV- drops before the creek
flattens out above its confluence with the South Fork. Total
distance on the North Fork is a little over 1 mile.
- 2
- At the confluence, the flow approximately doubles.
-
- 3
- The river curves left thru a class III+ rapid, and Morgan Creek
(? maps disagree) comes in on the left.
- 4.5
-
An old broached dam (or bridge) with an extant tunnel on river right
makes a curious sight.
- 4.7
- Class III+ rapid, formerly class IV- because of a large rock in
the center channel, apparently moved by high water; possibly scout
or portage on the right bank.
- 5
- A double pipeline crosses the river.
- 5.1
- Fun class III and III+ rapids continue for another few miles,
commonly involving exciting ledge drops. Most have short pools
in between.
-
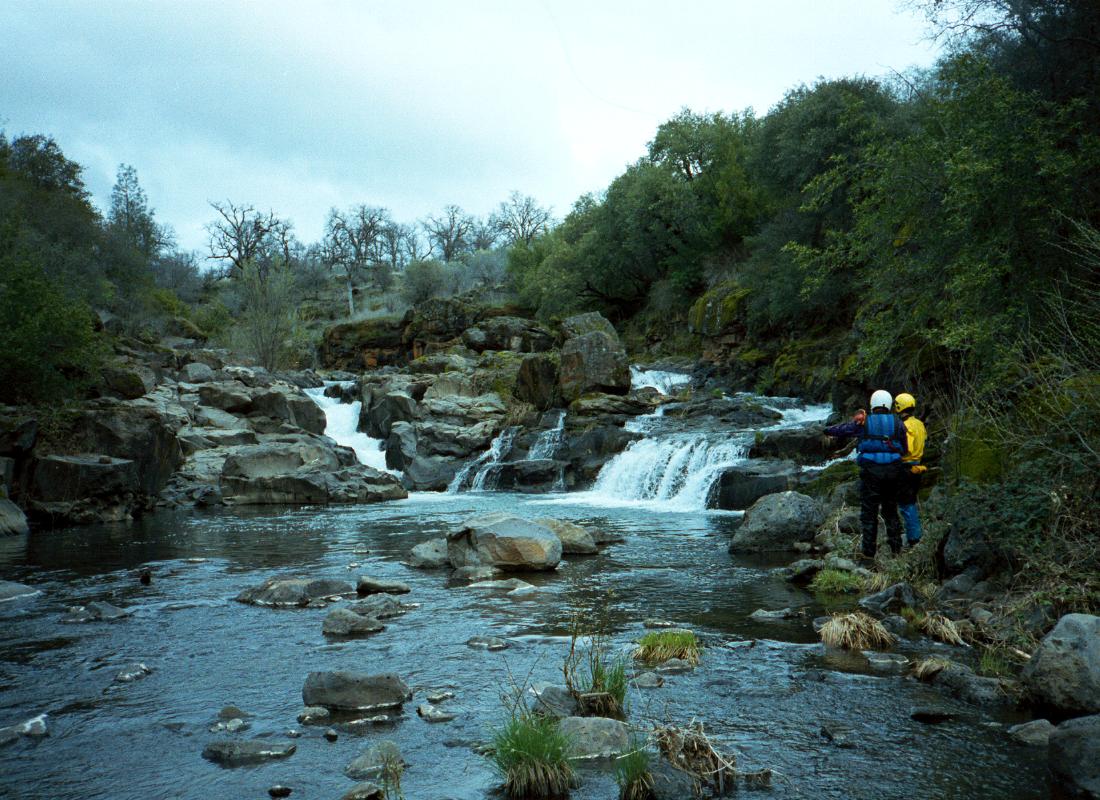
- 7.5
- Class IV-
At the end of this section is a very long class IV- rapid, which
begins at a left curve. At higher flows, eddy out on the left.
If you decide to portage, the easiest alternative is to get out here
and portage on the left. Rock walls are very close to the river, so
at high water, portaging might require climbing onto the slope above.
-
- Following the initial drops, there is a small eddy on the right,
but it is just above a 5' drop on the right, and ferrying across
the current to catch the easier left-side drop isn't totally easy,
so maybe it's best to ignore the eddy.
-
- After the falls, the water flows through three channels. The two
right channels used to be completely blocked by two large strainers,
but Mark Twitchell reports they were gone in 2003. Following this,
the rapid continues through two more smaller drops.
-
- 7.7
- After this rapids ease somewhat, and there is a beautiful spring-fed
mini-falls on the right (probably drinkable, but purify to be sure).
-
- 8
- Less intense class II and III- rapids continue for a few miles until a
huge horseshoe bend. Below that, Spring Branch Creek comes in on the
left, and rapids further ease to class I and II. Evidence of cattle
grazing becomes increasingly evident as the rock walls fade away.
- 11
- Powerlines can be glimpsed ahead.
- 11.5
- An artificial-looking waterfalls with lots of water (perhaps overflow
from Coleman Forebay) comes in on the right. Shortly below, powerlines
cross the river, and tubes of a power generation station can be seen.
These diversions add 200-300 cfs to the gauged flow.
- 12
- Recommended take-out at a creekside parking area, now managed by BLM
since exchange of land in 2000.
- 12.1
- Caution: Low-head diversion dam, which often can be safely run
on the far left, but which is most easily portaged on the right.
-
- 13
- In another mile you reach a take-out with distant parking at Coleman
Fish Hatchery. There is a small creek on the right, about 20 feet up
this creek is apparently the easiest place to take out to avoid the
hazard below. It should be noted that the Fish Hatchery is open until
5:30 PM. Cars left in the parking lot beyond this time could possibly
be locked in! Take a tour around the grounds during your visit and
have a look at the huge fish that used to spawn in rivers and creeks
up and down California's Central Valley, which now must be bred
artificially in tanks.
- 13.1
- Hazard! The fish ladder at Coleman Fish Hatchery includes a
two-tier concrete diversion dam with drowning-machine reversal below.
Do not go near the edge! This structure has caused fatalities.
To reach take-out from I-5 north of Red Bluff, go east on Gas Point Road,
bear left on Ball's Ferry Road, turn right on Ash Creek Road, cross the
Sacramento river, then turn right on Jelly's Ferry Road, and soon left on
Coleman Fish Hatchery Road. Pass the Fish Hatchery parking lot, continue
uphill, then bear left and go slightly downhill to the BLM parking area.
To reach put-in from there, return to Ash Creek Road, turn right and go
uphill, turn right on Wildcat Rd, bear right at a junction, then descend
and cross the North Fork of Battle Creek. You could put in there, or
continue to the South Fork ahead. Do not be fooled by the Delorme Atlas,
as we were: Spring Branch Road appears to be a viable shuttle route on the
south side of Battle Creek, but it is rough dirt and has a stream crossing.
The AAA Feather/Yuba Region map is recommended.
Upstream the South Fork contains a good class IV-V run,
described here.
Nearby Antelope Creek offers a more scenic wilderness run
lasting one or two days, described here.
Old-timers say that higher runs on the North Fork of Battle Creek
(thru Eagle Canyon) have generated many horror stories of portage fests.
Not having read that sentence, three of my friends attempted this stretch,
only to abandon their boats due to portaging and impending darkness.
The south wall was sheer, so while jumping across moving water
to climb the north side cliff, Boris broke his foot.
They finally retrieved their boats several weekends later.
About 3.3 miles below the Rock Creek Road bridge, near Digger Creek,
the North Fork drops into a deep lava canyon with many undercuts
and steeper gradient. A long portage (on the right?) is necessary here.
Eagle Canyon dam is at mile 3.6, Wildcat Dam is at mile 6.6,
and total distance to Wildcat Road bridge is 7.9 miles,
with gradient 150 100 170 230 150 50 130 120 fpm.
New-timer Boris Trgovcich concludes “it is a great run
for those who do not mind spending half a day portaging;
rock climbing skills are a prerequisite.”
|
|
Creeks Navigation
Home
Recommended Runs
Map of Rivers
Alphabetic Index
Alphabetic Table
Text Search
Sponsored Links
|